【Cyber Command】STA Hyper-V Password Reset Guide_V3.0.65
Reset Password for STA VM Deployed on Hyper-V
If you forget the login password of an STA virtual machine (VM) deployed on Hyper-V, you can perform the following steps for a password reset, including creating and attaching a virtual hard disk. After resetting the password, you can detach the virtual hard disk.
Create a Virtual Hard Disk
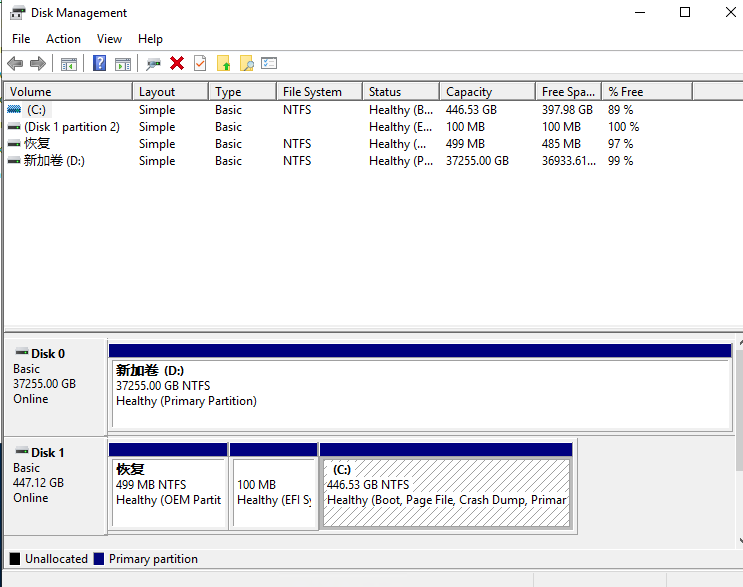
- Open Disk Management, as shown in the following figure.
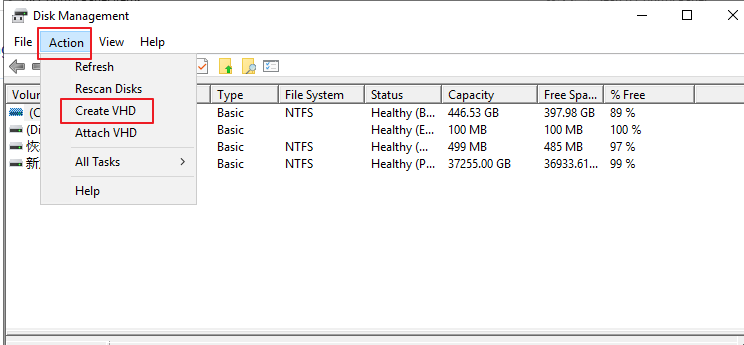
- Click Action and choose Create VHD, as shown in the following figure.
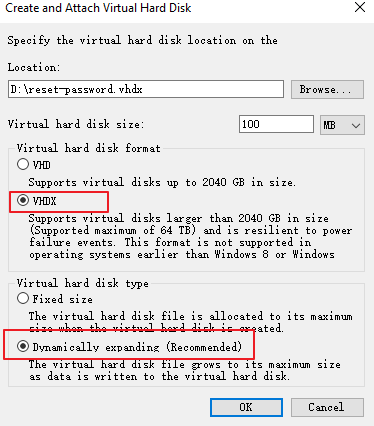
- Select a location (such as a directory in the D drive), and set the Virtual hard disk size to 100 MB, as shown in the following figures.
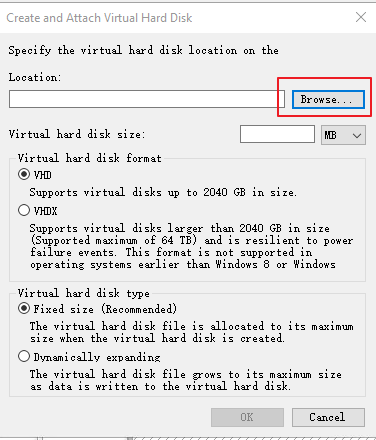
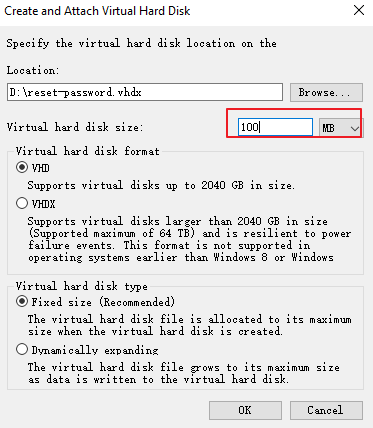
- Set Virtual hard disk format to VHDX and Virtual hard disk type to Dynamically expanding (Recommended).
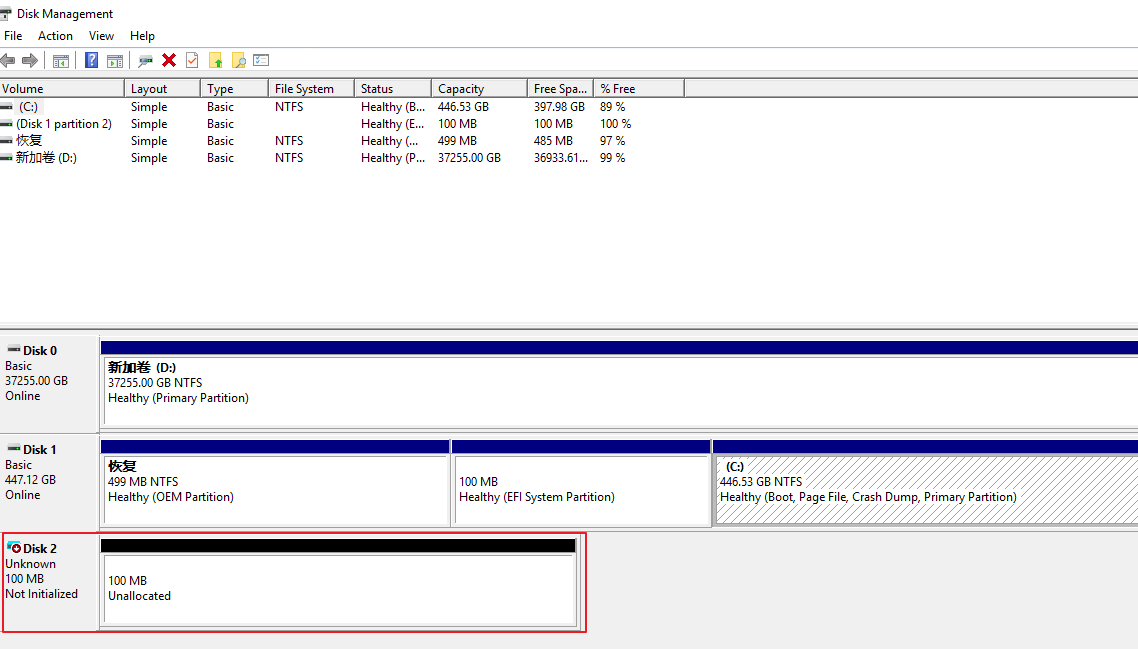
- Click OK. Then you can view the virtual hard disk to be attached in the area, as shown below.
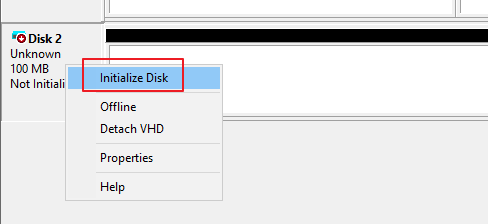
- Right-click Disk 2 and choose Initialize Disk, as shown in the following figure.
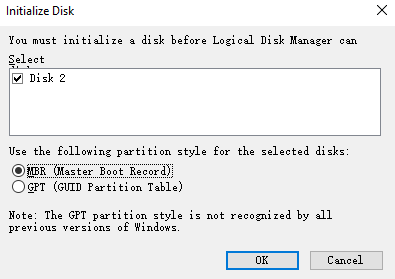
- Click OK. After the initialization is complete, the status of the virtual hard disk will change to Online.

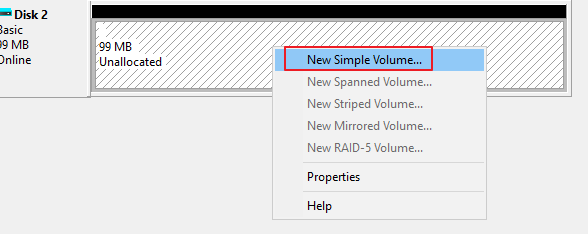
- On the right-side area of the disk, right-click and select New Simple Volume to create a volume, as shown in the following figure.
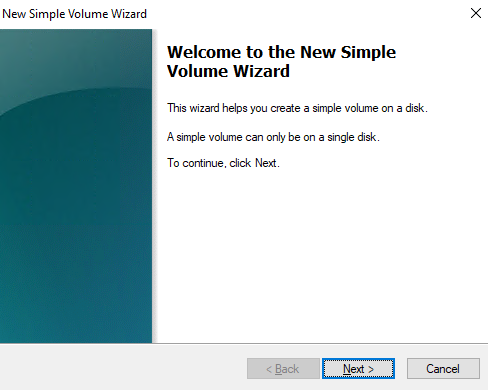
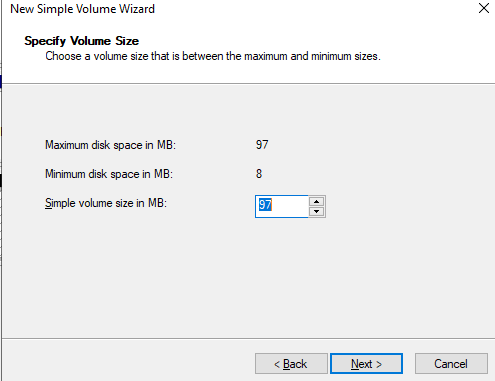
- Click Next. Set a value for Simple volume size in MB, as shown in the following figure.
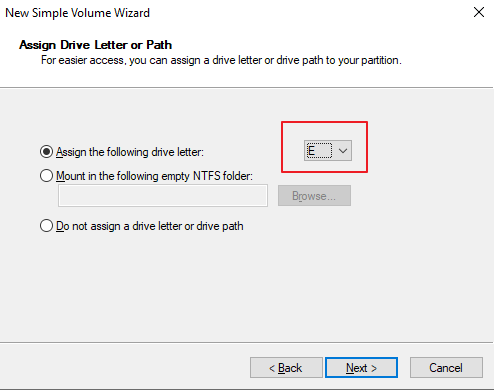
- Click Next. Set the Assign the following drive letter to E (set the drive letter according to the actual requirements), as shown in the following figure.
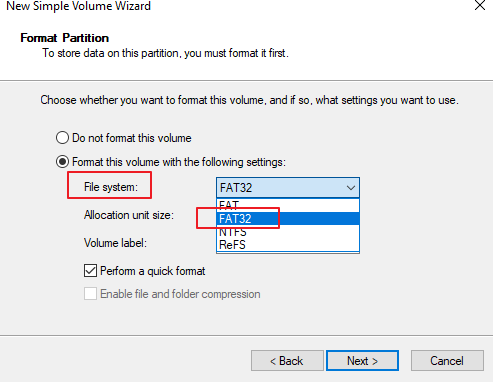
- Click Next. Set the File system to FAT32, as shown in the following figure.
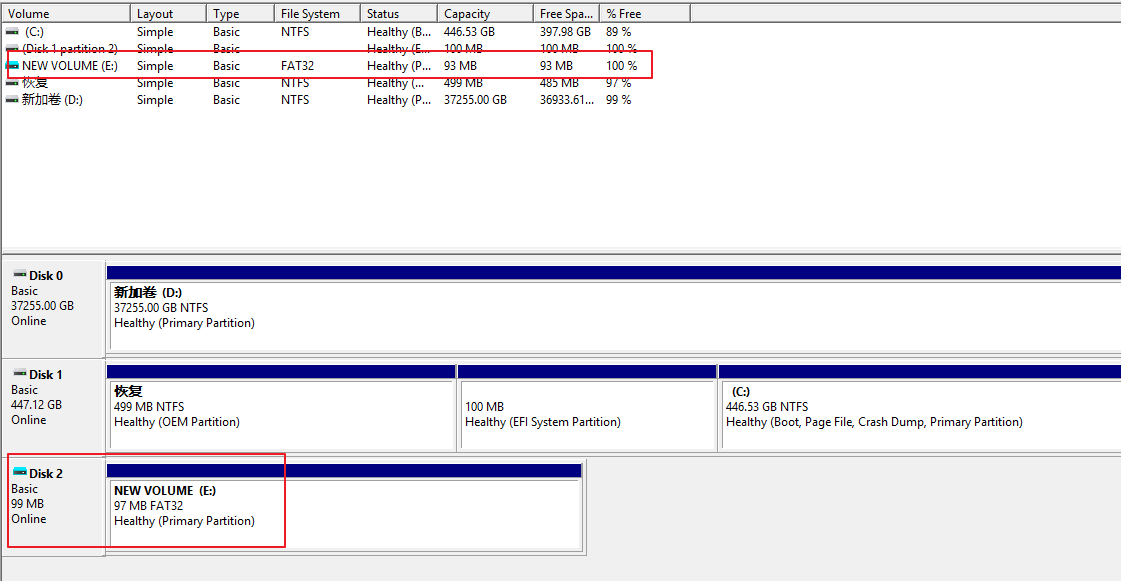
- Check the new virtual hard disk, as shown in the following figure.
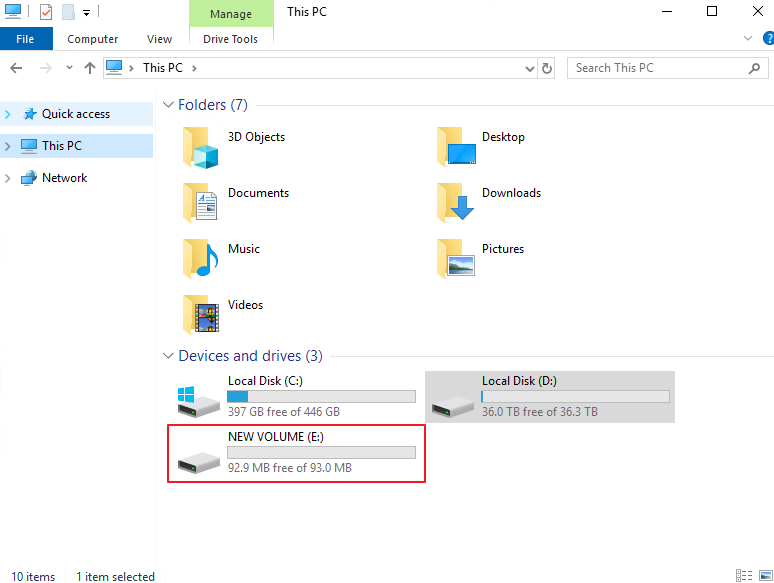
- Check your PC’s new virtual hard disk, as shown in the following figure.
- Access the virtual hard disk and create a file named reset-password.txt.
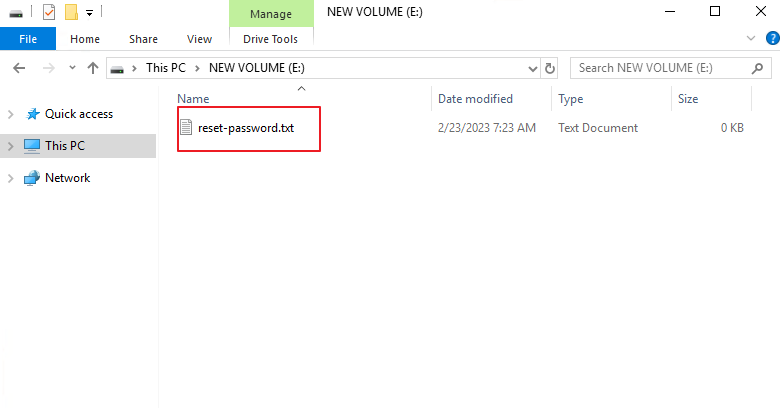
Notice:
The name of the new file must be reset-password.txt.
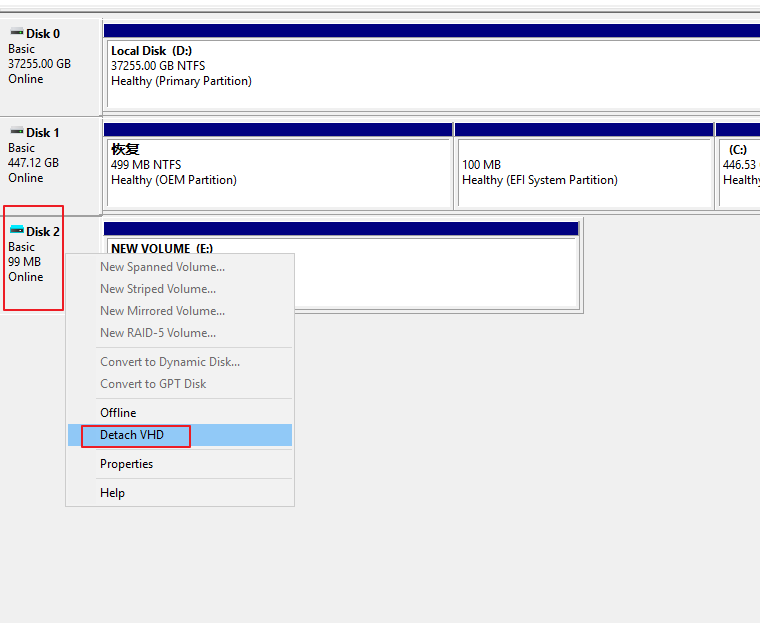
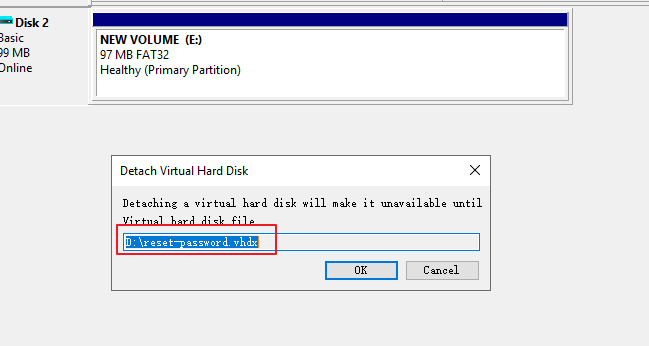
- Detach the virtual hard disk in Disk Management. Right-click the virtual hard disk and choose Detach VHD, as shown in the following figure.
- Click OK.
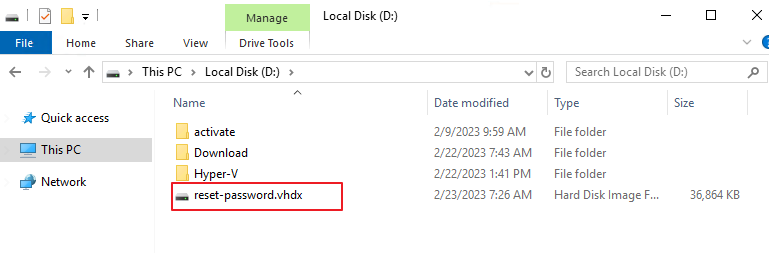
- Check the hard disk file in the location specified.
Attach the Virtual Hard Disk and Reset the Password
To attach the created virtual hard disk for a password reset, perform the following steps:
-
Shut down the STA VM.
-
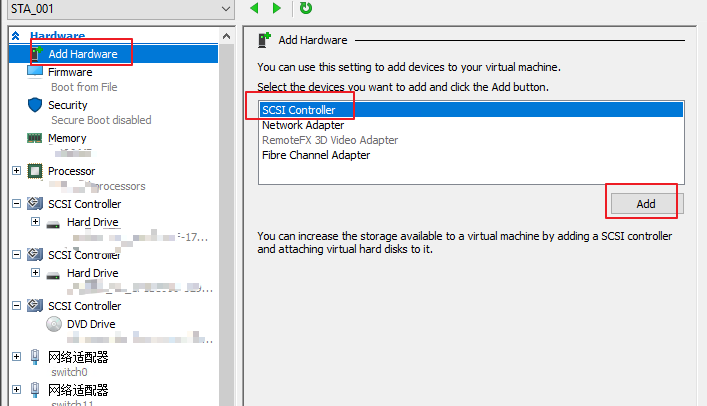
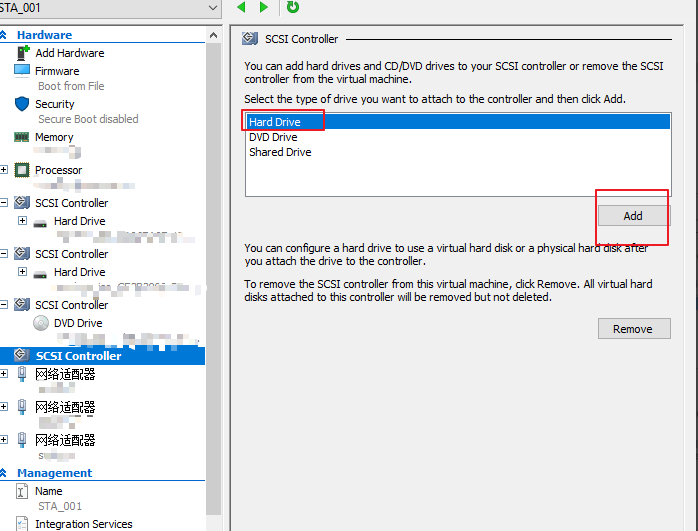
Right-click the VM that needs to reset the password, choose Setting > Add Hardware > SCSI Controller, and click Add, as shown in the following figure.
- Select Hard Drive and click Add, as shown in the following figure.
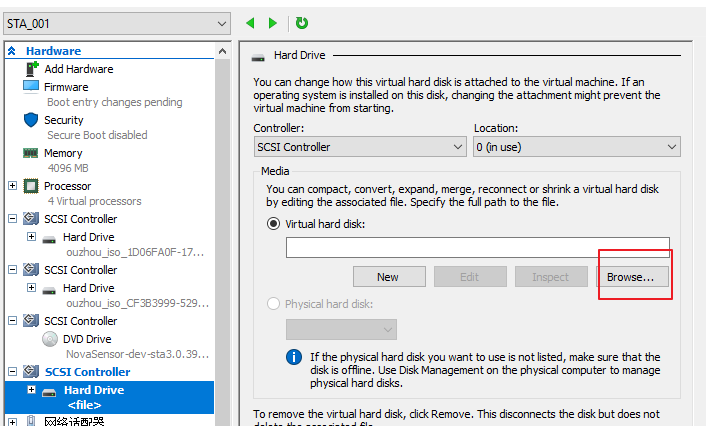
- Click Browse.
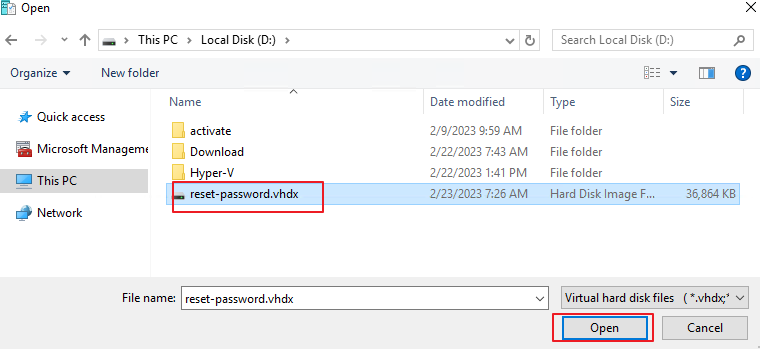
- Select the reset-password.vhdx file and click Open, as shown in the following figure.
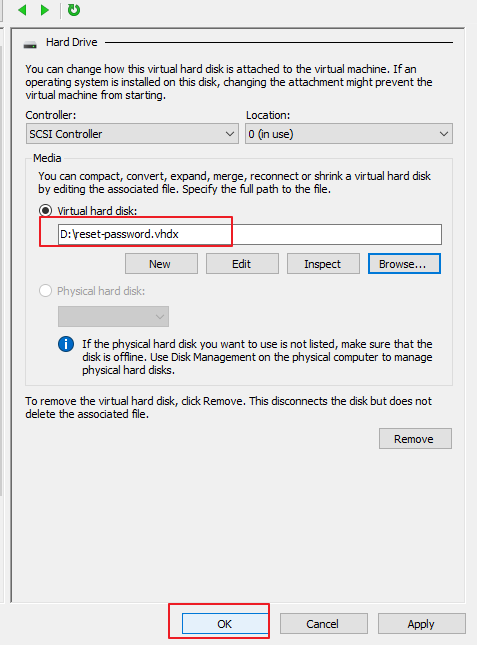
- Click OK, as shown in the following figure.
- Start the STA VM and wait for the automatic reset to the default password. Then, log in to the VM with the corresponding password as the frontend admin or admin user. The login is successful.
Detach the Virtual Hard Disk
After a successful password reset, you can perform the following steps to detach the virtual hard disk.
-
Shut down the VM.
-
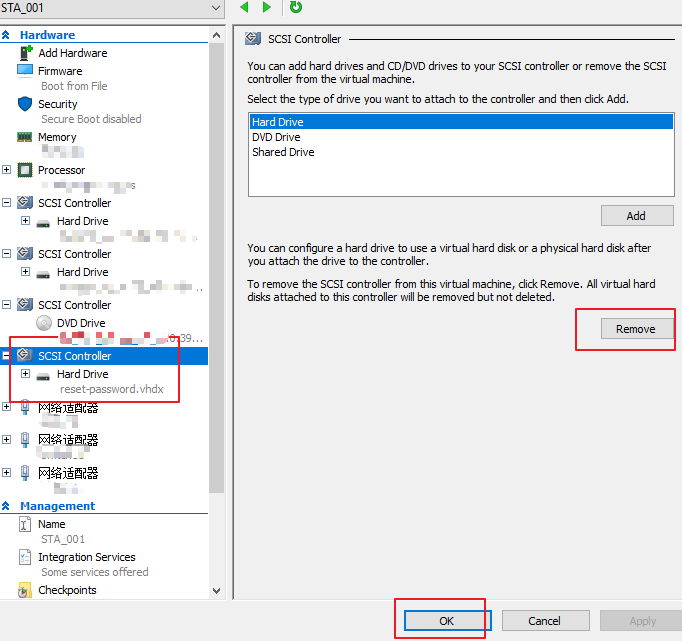
Right-click the STA VM, choose Setting, select the added hard disk file, click Remove, and click OK, as shown in the following figure.
- Start the VM. The virtual hard disk is successfully detached.
Reset the Password Again
If you want to reset the password again or the passwords for other VMs, you must attach the virtual hard disk again. Then, perform the following steps for password reset:
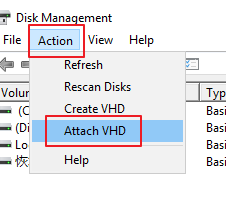
- Open Disk Management, click Action, and choose the Attach VHD, as shown in the following figure.
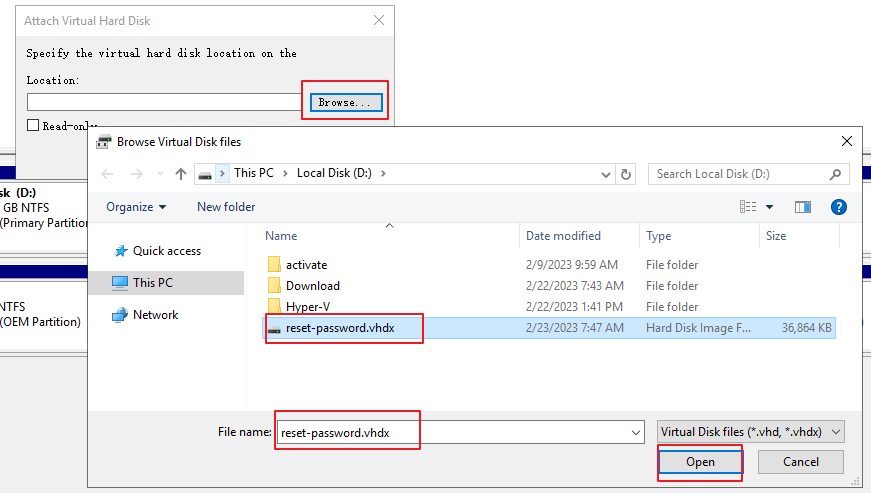
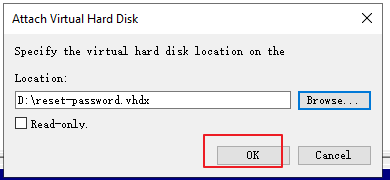
- Select the reset-password.vhdx file and click Open, as shown in the following figure.
- Click OK.
- Check the created virtual hard disk, as shown in the following figure.

- Perform the steps starting from Step 8 as described in Chapter 1.1 Create a Virtual Hard Disk for hard disk attaching and password reset.