【SCP】Shared Services Network Configuration Guide_V6.7.3
Overview
Sangfor SCP provides the shared service network for shared service scenarios on the cloud and builds the shared service network as a dedicated channel between the shared service area and resource pool tenants. NTP servers, authorization servers, NAS, security centers, application centers, etc., can be deployed in public service regions to meet tenants’ access requirements for public services.
Note:
- The tenant’s classic network cannot access shared services through the domain name, so it requires deploying a DNS server separately.
- The IP of the shared service needs to be within the same segment as the elastic IP of the shared service network and excluded from the elastic IP pool.
- The shared service gateway cannot be modified with existing shared services.
Prerequisites
-
SCP has appropriate plans for the shared service IPs and domain names.
-
SCP has been configured as the Shared Service gateway configuration.
Configuration Steps
Configure The Shared Service Network Gateway
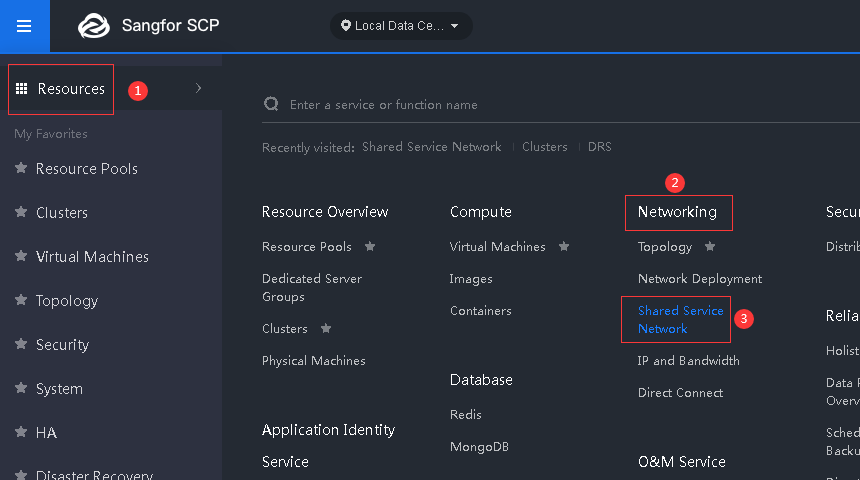
- Navigate to Resources > Networking and select Shared Service Network.
- Click Gateway to configure a gateway for the shared service network resource pool.

- Click Add Gateway to create a new shared service network gateway, and select the appropriate Resource Pool, Gateway, and VLAN (optional).
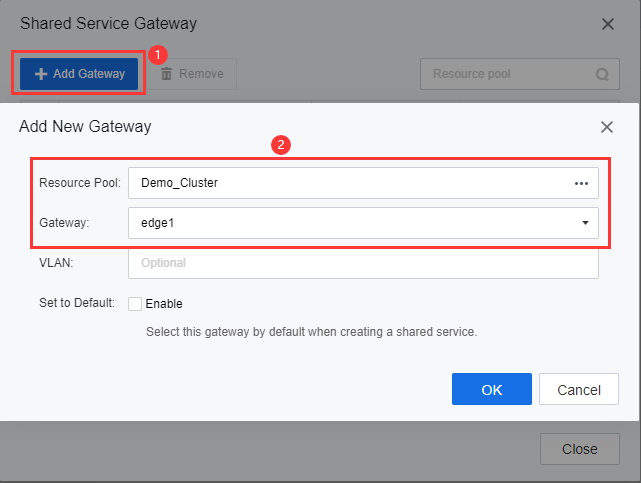
Note:
If Set to Default has been enabled, then this Shared Service Gateway will be selected by default for all newly created shared services.
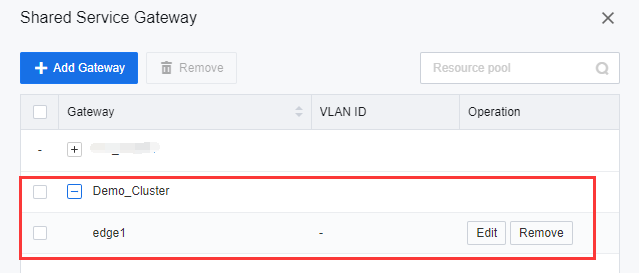
- A new gateway will appear on the list.
Configure The Elastic IP Pools
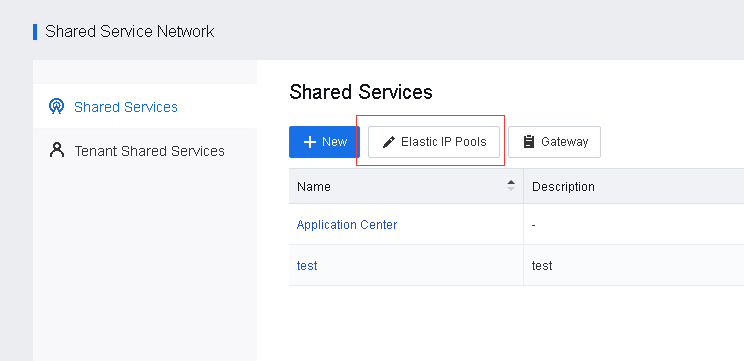
- Navigate to Resources > Networking and select Shared Service Network. Next, click Elastic IP Pools to redirect to the Elastic IP management interface, then click New to create a new elastic IP pool for the shared service network.
- Configure the Name, Tenant, and Line Type accordingly.
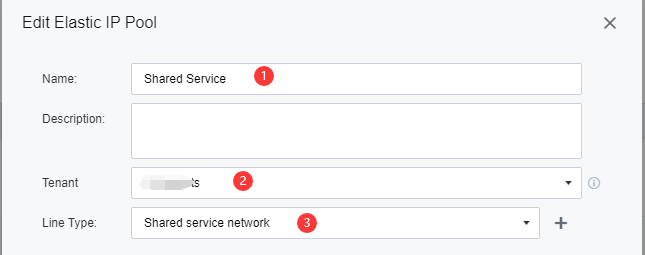
Note:
The tenant can be All tenants or a single-tenant. When a single tenant is selected, only this tenant can use EIPs in the specified EIP pool. However, if a shared EIP pool is available to the tenant simultaneously, EIPs in the specified EIP pool will be preferred.
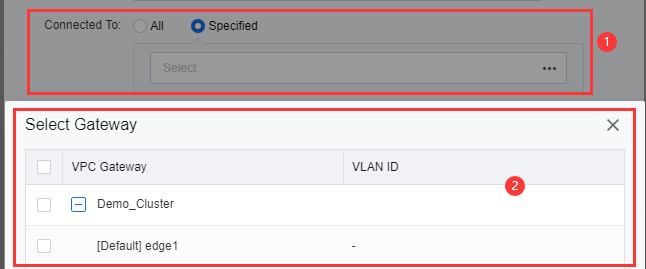
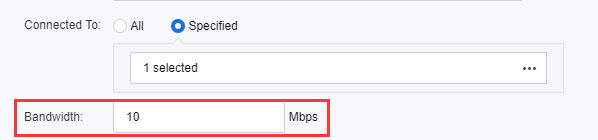
- Configure the Connected To with an appropriate gateway for this Elastic IP Pool. After that, configure the Bandwidth.
- Finally, click New to create an IP Range for this Elastic IP Pool
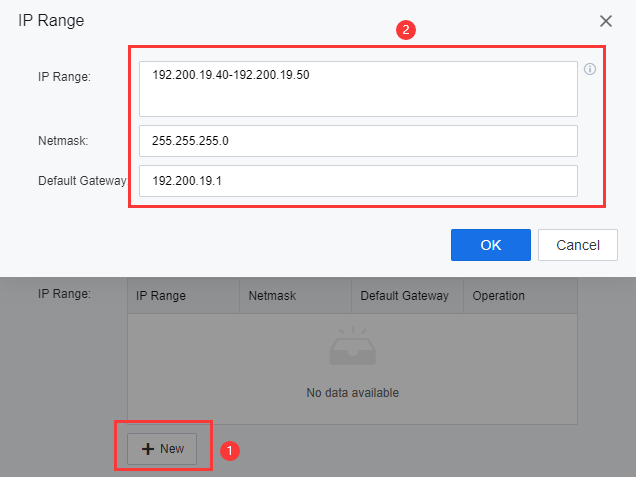
- Then click OK to save the configuration.
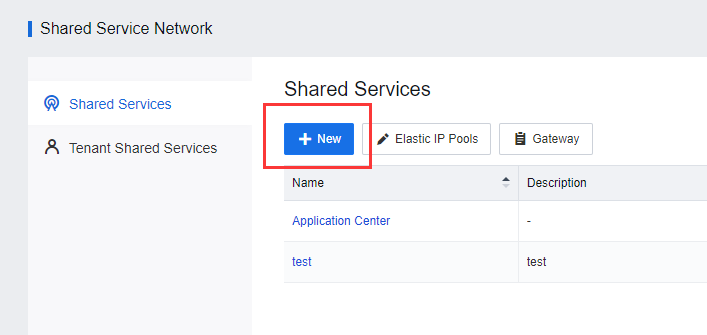
Create a New Shared Service
- Click New to create a new shared service.
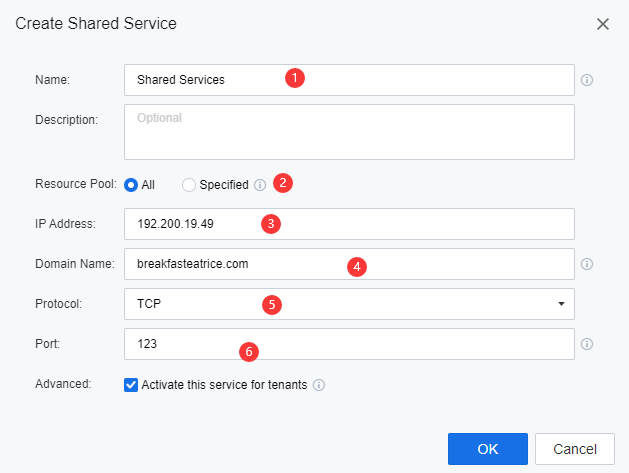
- Configure the attribute accordingly.
-
Fill in the Name of the Shared Service.
-
Select the appropriate Resource Pool.
-
Fill in the IP Address and Domain Name.
-
Select the appropriate Protocol and input the port number.
Note:
- Protocol support both TCP and UDP.
- Enable Activate this service for tenants to activate shared services for the associated resource pool by default upon creating a new tenant. If it is disabled later, tenants with shared services activated already will not be affected.
- Under circumstances where the Active this service for tenants option is not enabled, navigate to Tenant Shared Services and edit for the specific tenant to associate with the specific shared services, following the tenant already using the VPC network.
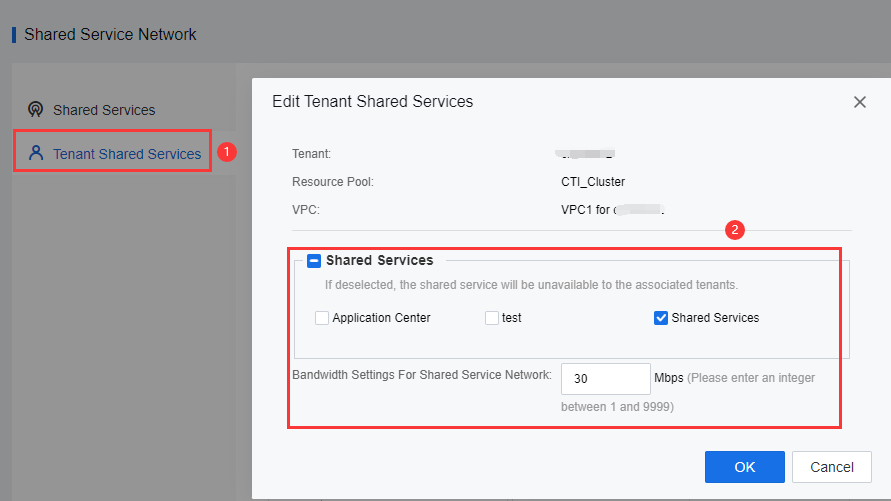
- After enabling a shared service for the tenant, the tenant can access the shared services through an IP address or domain name with the VPC virtual machine.
Tenant Accessing To Shared Services
This sample will demonstrate the NTP shared service.
- Log in to the tenant portal.
- Access to the VM that connects under the VPC.
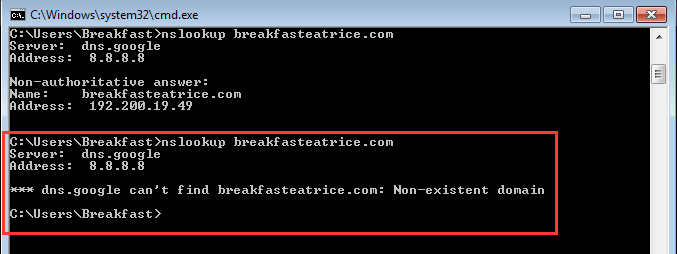
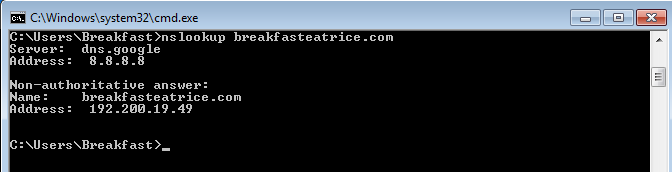
- In the command prompt nslookup, the domain name that has been created in Chapter 3.3, step 2 to verify the shared services domain name can be resolved.
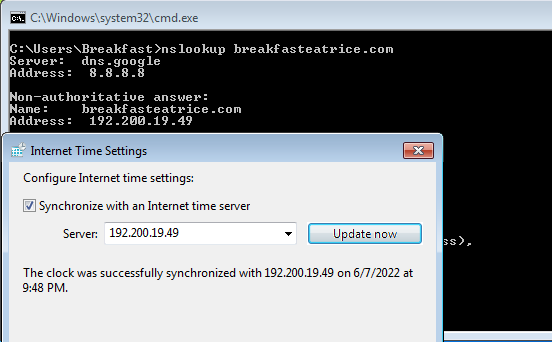
- Update and synchronize the time from the NTP server.
- The tenant not associating with the shared service cannot resolve the domain name.